
Bird photography is easier said than done. It combines your camera's capabilities and your photography knowledge to capture a stunning image. But with this beginner's guide to bird photography, you are off taking excellent photographs in no time.
Shooting birds is difficult. Unlike portraits where you can direct your model, birds are unpredictable. One second they are in front of you and in the next moment they're gone.
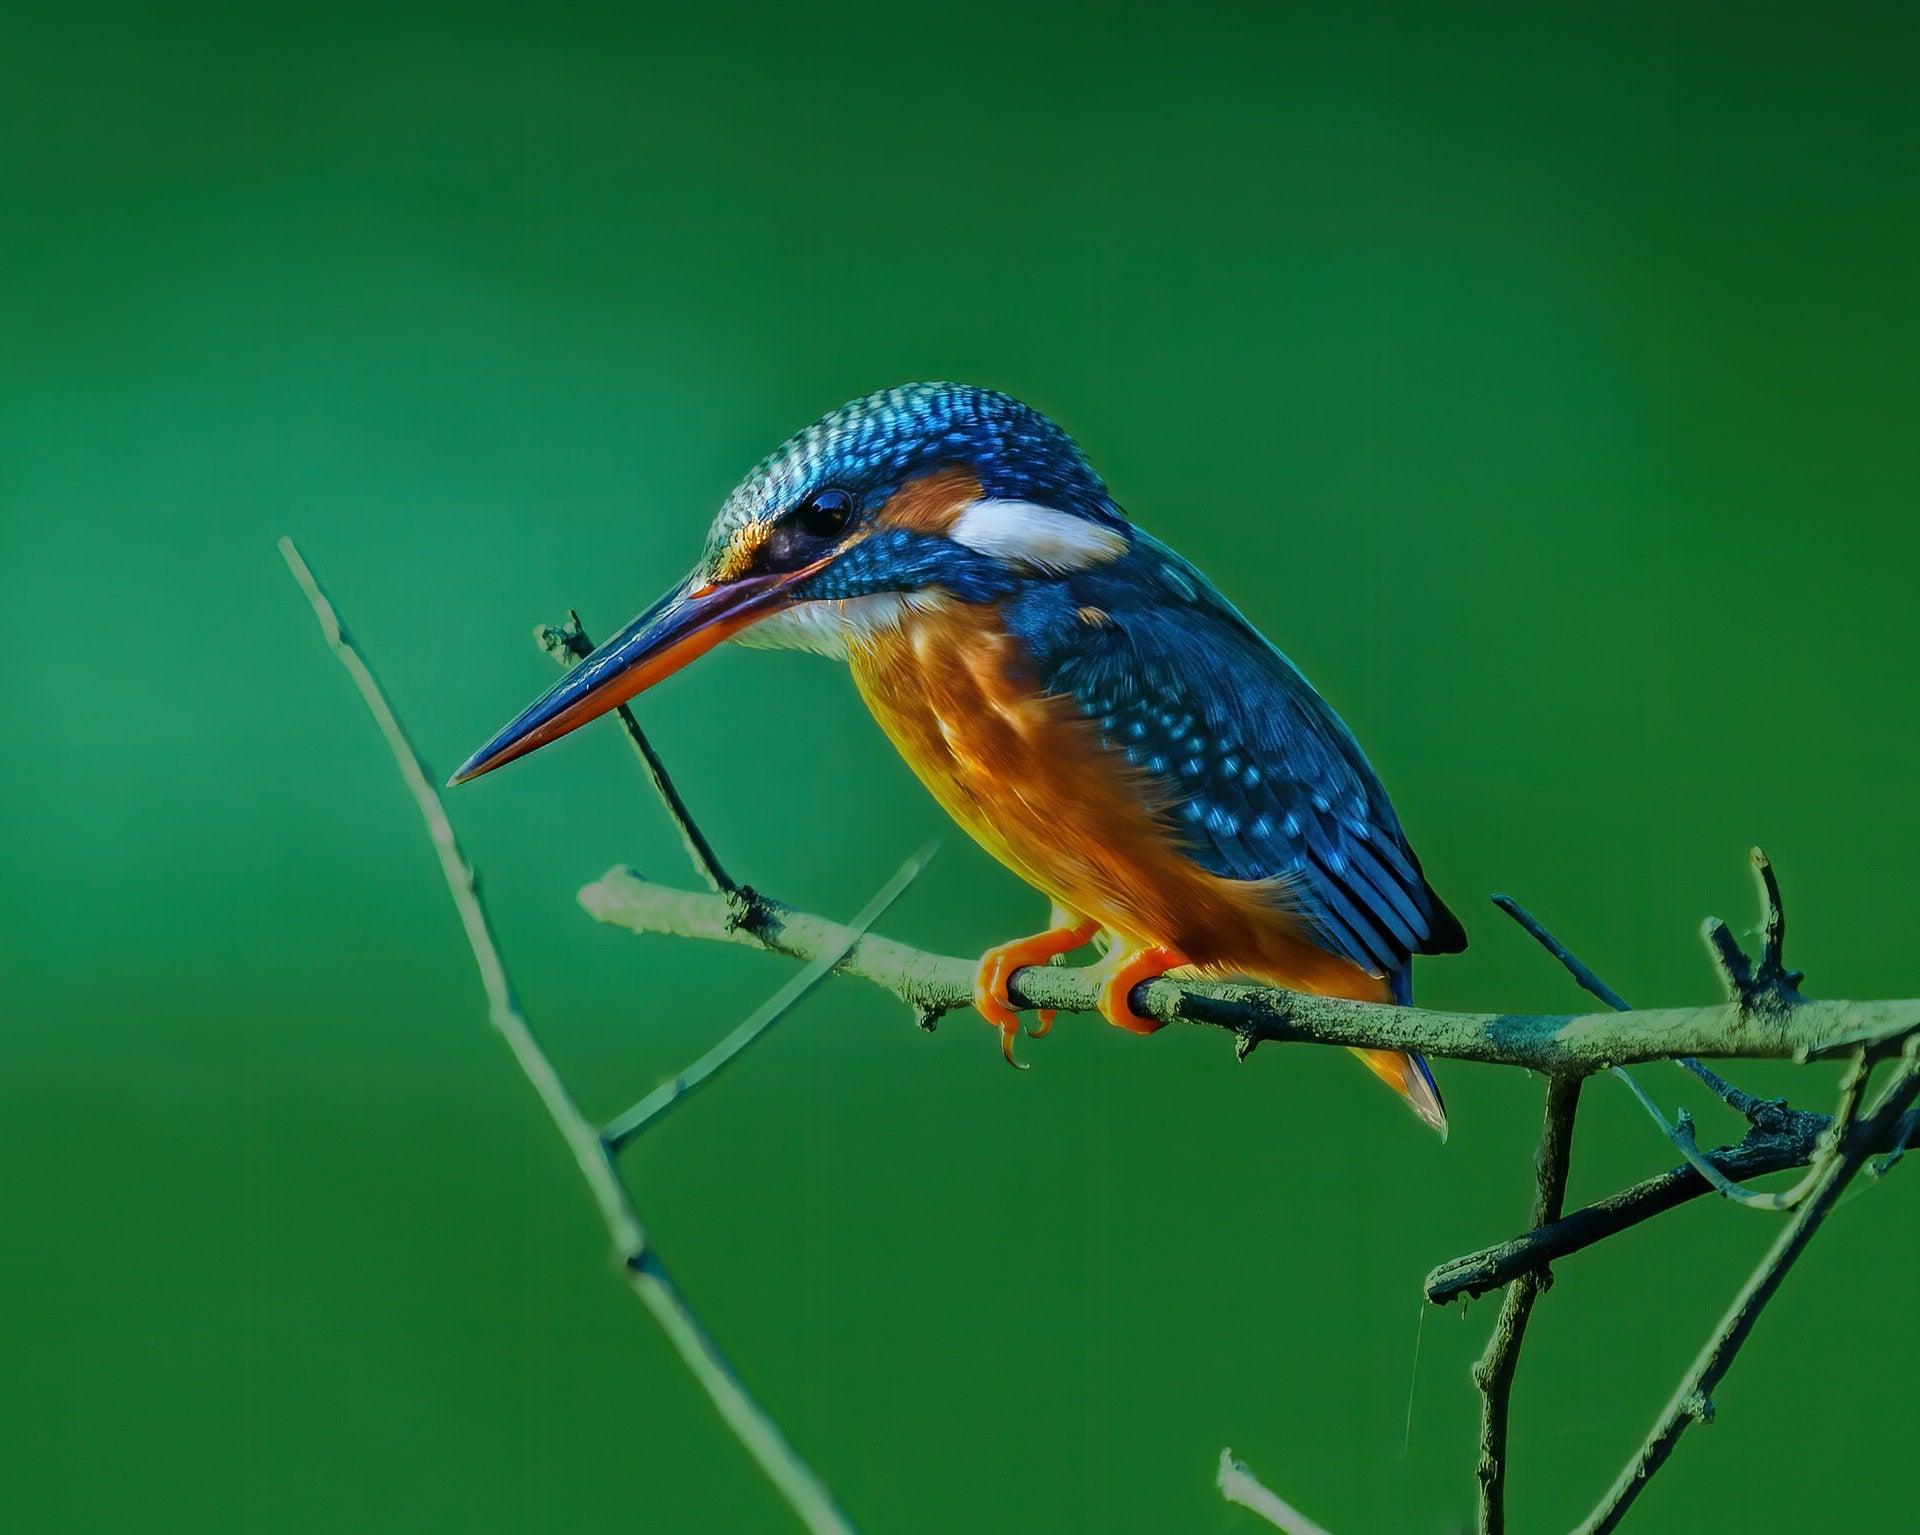
However, the best thing about bird photography is the feeling of capturing them in action.

Equipment for bird photography
According to photographer Chase Jarvis, the best camera is the one you have with you.
While his statement is true to some extent, it might not totally apply with bird photography. Having better equipment helps in taking better images.
What lens is best for bird photography?
Just like wildlife or sports photography, it is highly recommended that you use a lens with at least 200mm in focal length. Birds are quick to hide and you need to keep your distance.
There are a lot of first-party and third-party lenses available to choose from. But some of the entry-level lenses have variable apertures.
If you want that sweet bokeh, then you will need lenses with larger apertures. However, these lenses are expensive and super large.
That being said, the best bird photography lens is any lens with 200mm lens or longer focal length. The longer the focal length, the better. But bear in mind the cost of it as well.

Best camera for bird photography
For this category, Jarvis' statement earlier would definitely apply. You can shoot with an aging camera or a modern one and you can capture great images.
But there are noticeable advantage with modern cameras that would give you the edge. Animal Eye-AF and high FPS count are just a few advantages.
Using an entry-level camera is fine for still birds or slow moving birds. However, you need a fast camera to capture birds in flight.\
Besides FPS speed, fast autofocus is also an advantage. Having a camera like the Sony A1 with quick autofocus helps you lock on to your subject.
If you are on the hunt for a new bird photography camera, here are some excellent options.
- Sony A9
- Sony A1
- Panasonic G9
- Canon 7D II
- Nikon D500
- Fujifilm X-T4
- Canon EOS R5
- Nikon D800
What is the best tripod for bird photography?
You should consider multiple things when buying a tripod for bird photography.
Is it light enough to carry? You are going to carry it while traveling.
Can it support your camera and lens? You would not want it to break with your precious equipment mounted.
Does it work in extreme conditions? Wildlife and bird photography means you are venturing into the woods or places that maybe wet, dry, or a mix of both. It is better to have a tripod that is reliable in these conditions.
One of the best tripods for bird photography and wildlife is the ProMediaGear TR344 Carbon Fiber Tripod. It is compact enough to carry around, capable of working in extreme conditions.
Plus, it has a max load capacity of 60 lbs. You can throw any camera and lens combo to it and it will still work smoothly.

Do you need a spotting scope?
Using a spotting scope for wildlife photography is not a requirement. But it provides a huge advantage. It helps you look for animals faster that is hard to see with the naked eye.
If you are interested in getting one, the Kowa TSN-883 spotting scope is worth checking out.
It has a dual focus mechanism, lifetime warranty, and rugged build quality. You would need a scope tripod for it too so consider that as well.
Best camera settings for bird photography
Just like other photography genre, there is no specific "best camera settings" for bird photography. It all boils down to the situation.
Shutter Speed
You will need a fast shutter speed when shooting birds if you want to freeze action. It is recommended to have a shutter speed of 1/1000 or faster.
However, sometimes it is nice to show some motion as well so going at around 1/80 or slower works too.
As a rule of thumb, you may use the focal length of your lens as your shutter speed guide. Do not have a shutter speed that is lower than your focal length.
For example, if you have a 200mm lens, the lowest you can go is 1/200. For a 400mm lens, do not go lower than 1/400.
If you would go with a shutter speed lower than your focal length, small movements would introduce camera shake and will reduce your image's sharpness.
Image stabilization will help with lower shutter speeds, but it is not that ideal.

Aperture
Aperture controls the Depth-of-Field (DoF) or what is called "bokeh". It is the photography term for the blurry background.
The higher the f-stop number, the smaller the aperture or the lens opening is. This gives a wide depth of field and you can focus on more things.
But for bird photography, shallow DoF is preferred. The larger aperture or small f-stop number, gives a better separation from the subject and its background.
With bird photography, you can use an aperture of f/8 or lower to provide ample background separation.
Going with a larger aperture is fine as well. However, you may not capture the whole bird in focus. Or if you are photographing multiple birds, you will lose focus on some of them.
It is better to strike a balance between your subject and the blurry background. This is not exclusive though, it all depends on the output you want in the end.
ISO
Just like other photography genres, a lower ISO is preferred to prevent grain and noise on your images.
But this is not always applicable. Especially on areas where there is a lot of shade or during sunrise or sunset.
It is better to go high at around 800, 1600, or even 3200 if your camera can handle it. This is to ensure that you get a sharp image.
What camera mode should you use?
There are three main camera modes you can use when taking wildlife photographs.
Aperture Priority (Av) - you may use this one if you need to control the depth-of-field and not worry about anything else.
Shutter Speed Priority (SS or Time Value [Tv]) - use this setting if you want to manually control your shutter speed. The aperture will be adjusted automatically by your camera.
Manual Mode (M) - With manual mode, you will be able to control both the aperture, shutter speed, ISO, or even white balance. You are in total control of your camera.
Using either Aperture Priority or Time Value is not perfect. Your images may turn too bright or too dark.
You may use the Exposure Compensation settings to avoid this from happening. Either put it on positive or negative settings to get the right exposure.
Another thing worth considering is shooting in RAW+JPEG. You will be able to keep the full details of your images when shooting RAW. JPEG files tend to lose some details and it is hard to recover these details when post-processing.
It is also easier to fix white balance or color correct photos when shooting RAW.

How to photograph birds?
Now that you know what camera, lenses, and settings you need, it is time to discuss how to shoot birds properly.
1. Be careful of your surroundings
When shooting wildlife or birds, be careful of your surroundings when moving. Step on a twig and the sound might scare the bird that you want to shoot.
Any sudden movement may disturb the birds too. Avoid unnecessary movements and focus on shooting.
2. Learn to stay put
There will be instances where birds will come closer to your area. If these happens, try to stay put and enjoy the moment.
Another thing you can do is to put some bird food and hope that a bird comes closer for you to shoot.
3. Find a good hiding spot
Small birds are quick creatures. Once they spot you, they flee immediately.
If you want to shoot small birds, try to find a hiding spot that is close enough to shoot but not far enough that your lens focal length won't be enough.
4. Be as quiet as possible
When shooting as a group, avoid talking too loud. If possible, avoid making any noise at all.
Besides the auditory noise, avoid visual noise too. Wear camouflage clothes. Bright and loud contrast clothes will catch their attention and birds will probably stay away.
If you do not have camouflage clothes, wear something with neutral and natural colors.
5. Observe your surroundings
Once you get into the venue, do not rush out and take photos. Take your time to observe what is happening in the area.
While doing this, you can study what the birds are doing. Is it their feeding time? Are they just flying around?
You can then predict the best moment to shoot once you get familiar with their activity.
Another advantage of doing this is the birds will familiarize with you too. They will soon notice that you are not harmful and will proceed with their activities as usual.
6. Research your subject beforehand
You should study the location and research about the bird species before heading on to the location. Check articles about the birds and they're behavior. You may even check their food and migration patterns.
Proper research gives you the edge as you are prepared during the actual shoot. You could get the proper bait, or even plan the shots you want to take.
In addition to that, you may check bird songs of the species you are photographing online. Different birds have unique songs that they use to communicate.
If you are familiar with their songs, you could locate them easier through audio cues.
Another technique bird photographers use is to play bird songs on their location.
For example, if you play male bird songs, you will most likely attract male birds too as they will try to protect their territory.
You may check this Bird Song Resources for more information.
7. Use natural cover
Seasoned bird photographers can build a temporary tent with natural covers. But for beginners, it may take you sometime and it will distract your subject.
The best thing to do is to find natural covers like bushes, grass, branches, or small trees.
This is easy to do if you shoot handheld. However, if you use a tripod or a monopod, it might be more difficult.
Birds are highly sensitive animals. They can be alerted easily by a long stick such as monopods. Be extra cautious when using camera supports.

How to take better bird pictures?
1. Check your lighting
The best light for photography is in the morning or evening when the sun is near the horizon. Shadows are soft and color of the sky is phenomenal.
It is ideal to shoot in these hours as it is also the time where birds are most active. Birds are very active in the morning as it is also their feeding time.
Some species are also active during the sunset. But with the sun going down, your time to shoot is limited.
2. Proper composition
The rule of thirds is common in bird photography. If you are not familiar with it, you have to place the subject at 1/3 or 2/3 of the image. This balances the composition and the result is a better image.
But that is not exclusive. You may also put your subject in the middle on certain occasions.
3. Be patient
Wildlife photography is all about patience. One technique you can do is to spot a bird you want to photograph and follow its movements through the lens.
With this technique, you can capture your subject as soon as it moves.
Besides that, if you did your research, you can compose your subject while they are interacting. Action shots makes for better images most of the time.
4. Know your gear
You should know your settings before hand. Do not forge to apply what you have read earlier regarding the settings.
Make sure to check your shutter speed, aperture, and ISO. Once it is set, check your focusing settings too. Set it to continuous AF if possible and just track your subject.

5. Include their habitat
It is understandable that blown out background or a solo photo of the bird looks great visually. However, you may include their habitat in the photo too.
This gives an interesting take to bird photography as it gives your audience the sense of being there.
6. Choose your background properly
If you love shooting with a large aperture and a shallow depth of field, you should choose your background properly.
The background might be blurry, but the colors are visually appealing to.
Try to find contrasting colors or background that gives interesting "bokeh" balls.
Time to go out and shoot some birds
Now that you have read these beginner's guide to bird photography, it is time to start shooting. Go ahead to your local park or even your backyard and apply the techniques mentioned above.
Bird photography can be frustrating sometimes. Failures will welcome you with open arms.
However, photography is a continuous learning process. No one started as a genius immediately. Continue to shoot and your photographs will only get better.
Share your bird photographs online too and don't forget to tag us on Facebook or Instagram @ProMediaGear.
Comments
Nice article the only things I would put into question are baiting the birds in field and using bird calls to bring them closer. Both these methods can cause problems in their natural habitat with humans.