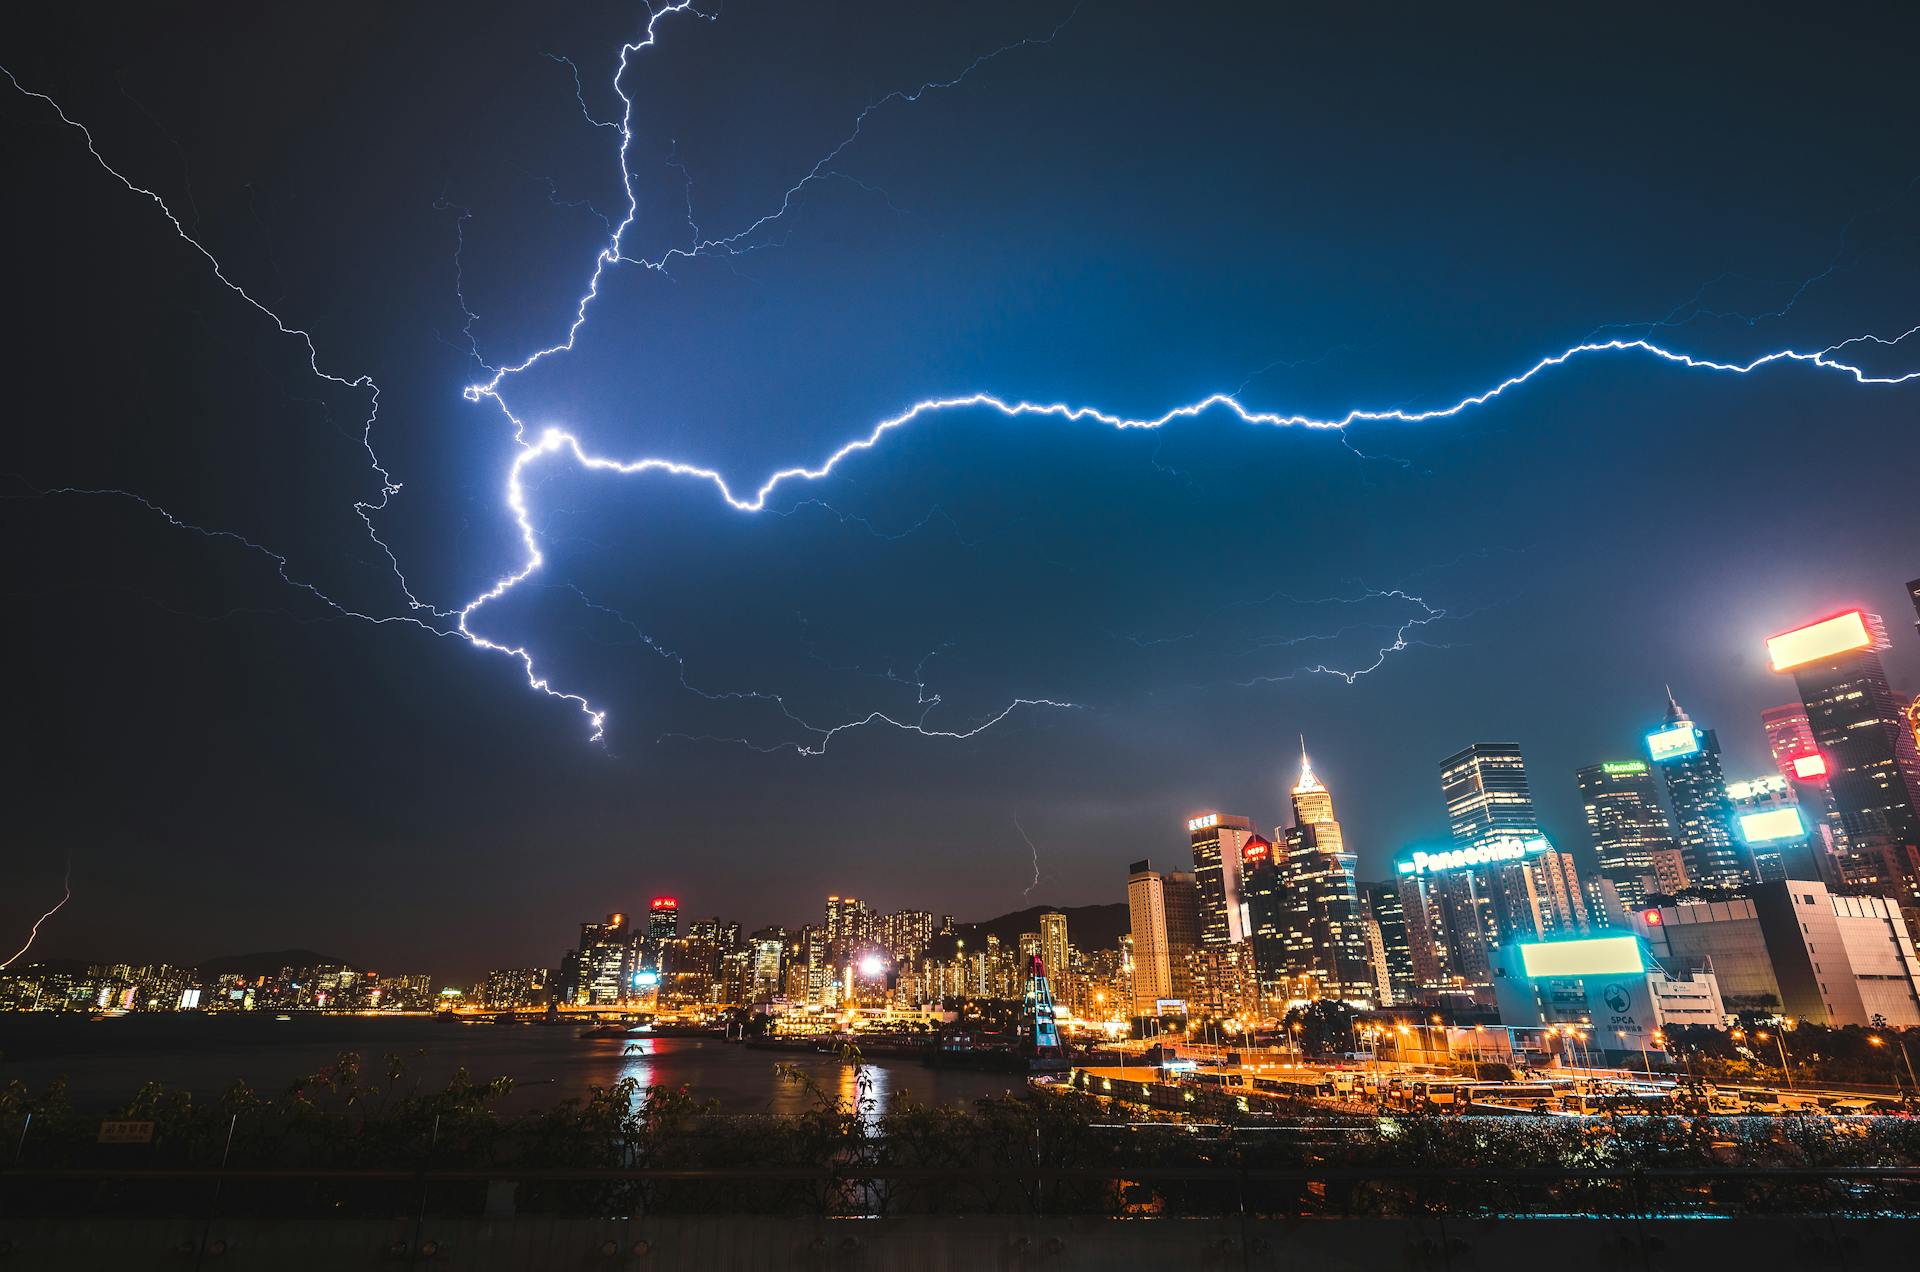
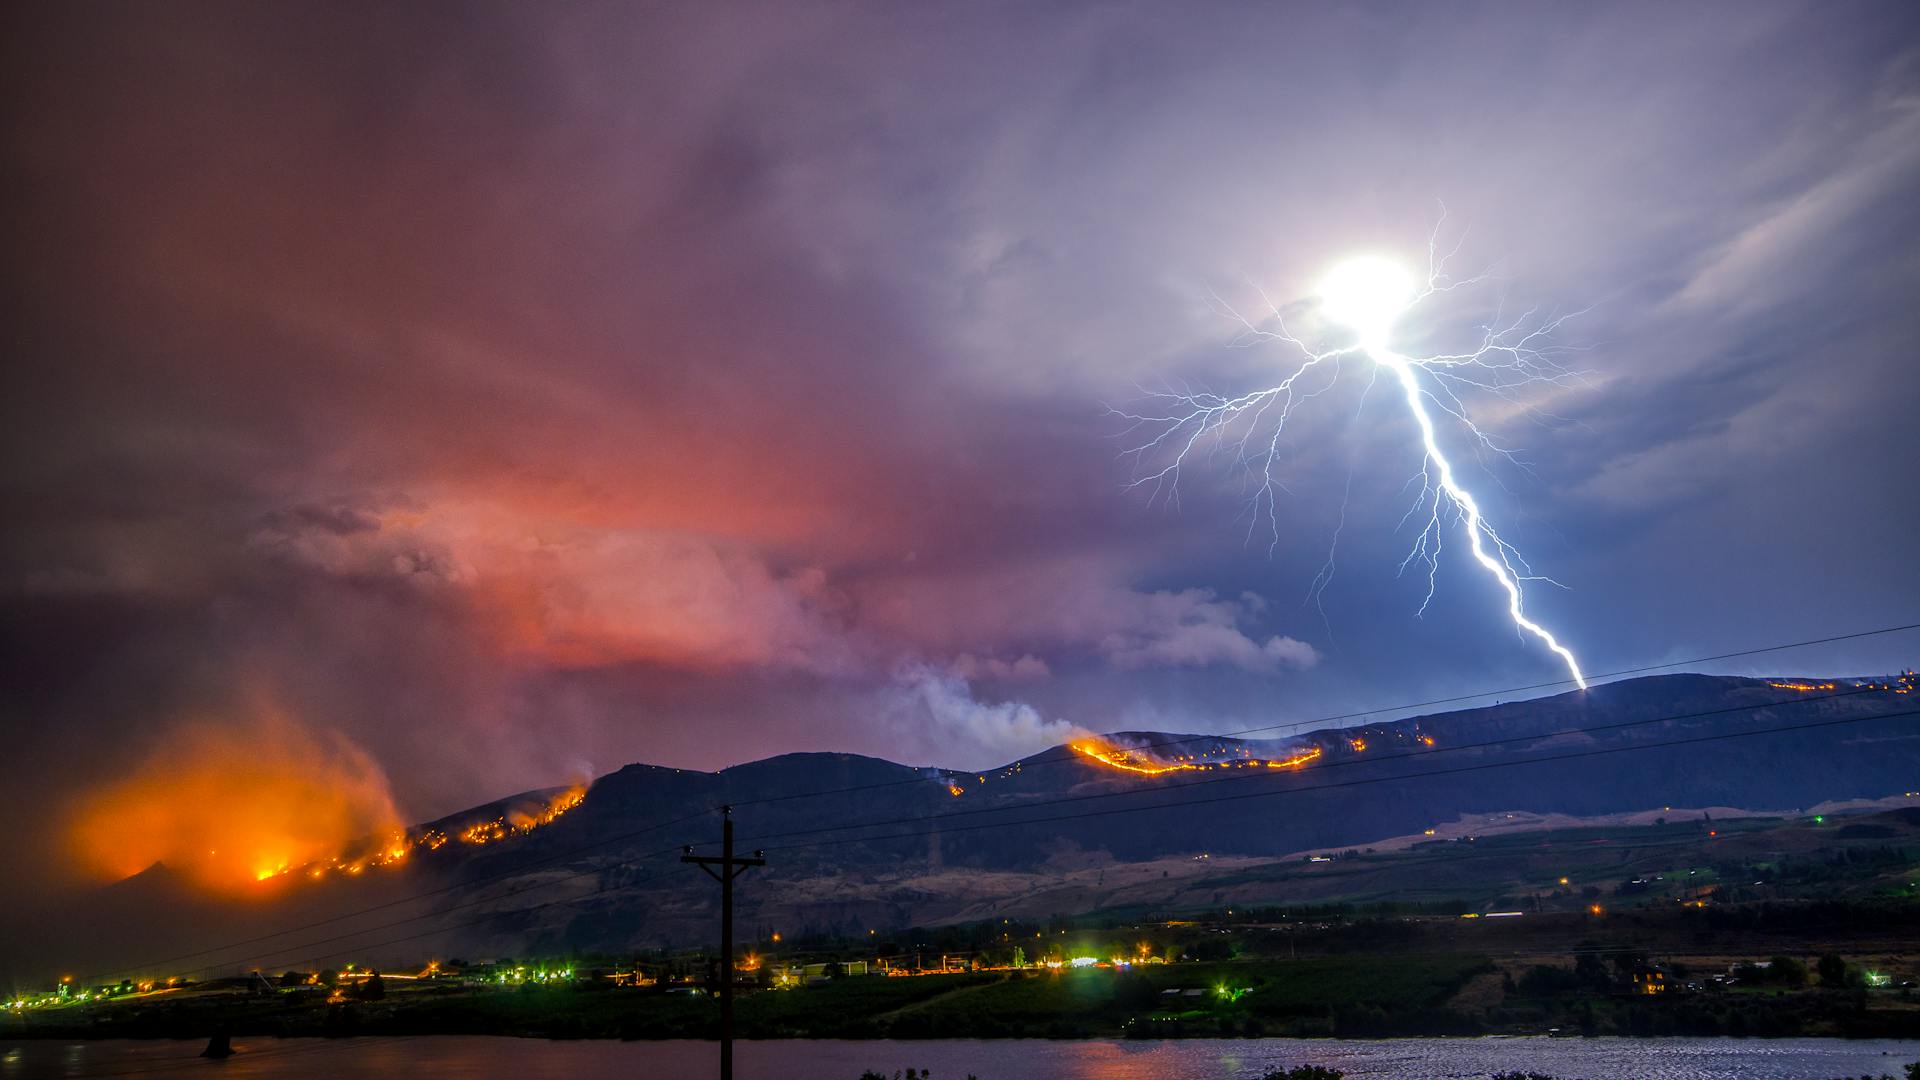
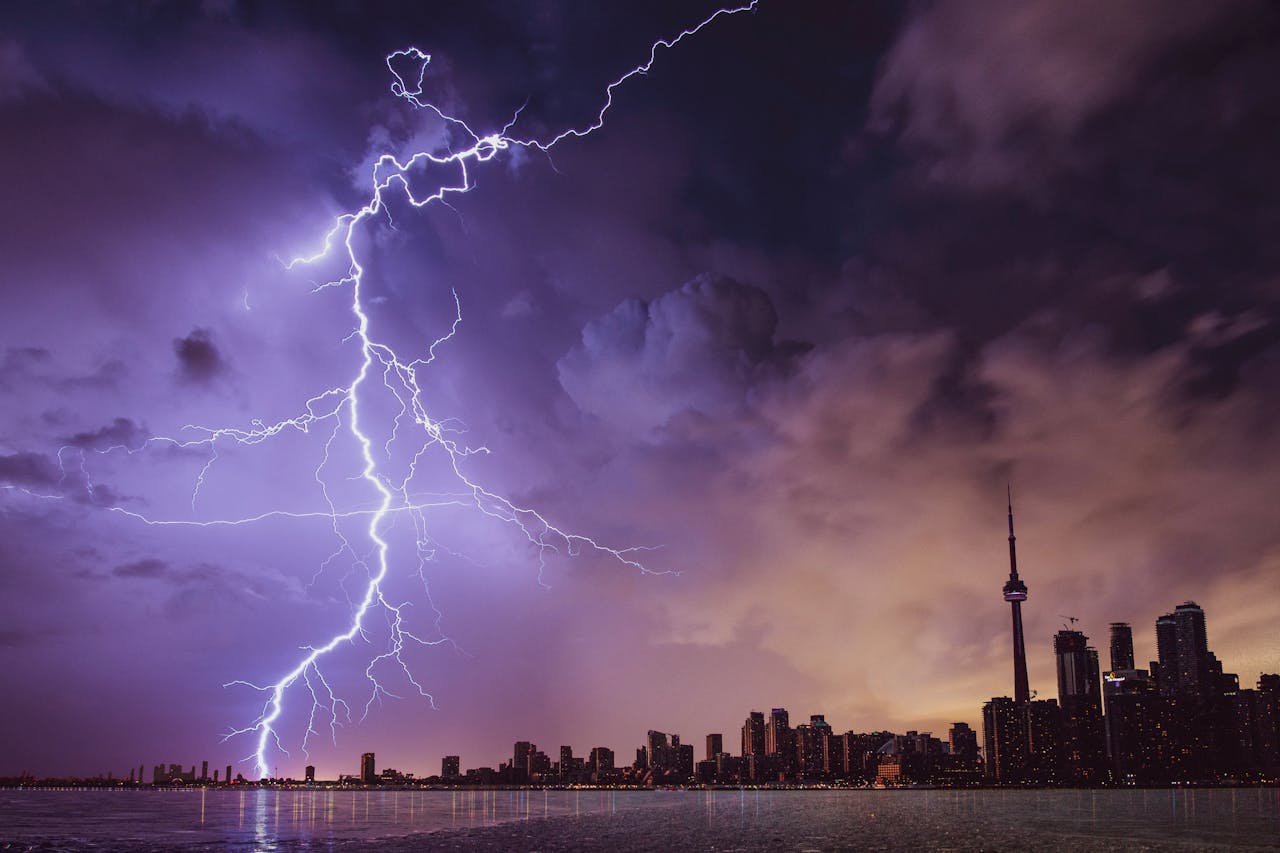
Lightning strikes are nature's fireworks, illuminating the night sky with their electrifying display.
Photographing lightning can be both thrilling and challenging, but with the right techniques and equipment, you can capture stunning images that showcase the raw power and beauty of these natural phenomena.
For beginners, shooting lightning photography can be daunting especially if you are not used to fiddling with your camera's settings.
But do not worry, we have you covered. We'll get into some tips and techniques to lightning photography. Hopefully, by the end of this guide, you can go out there and take a keeper from a nature's wonder.
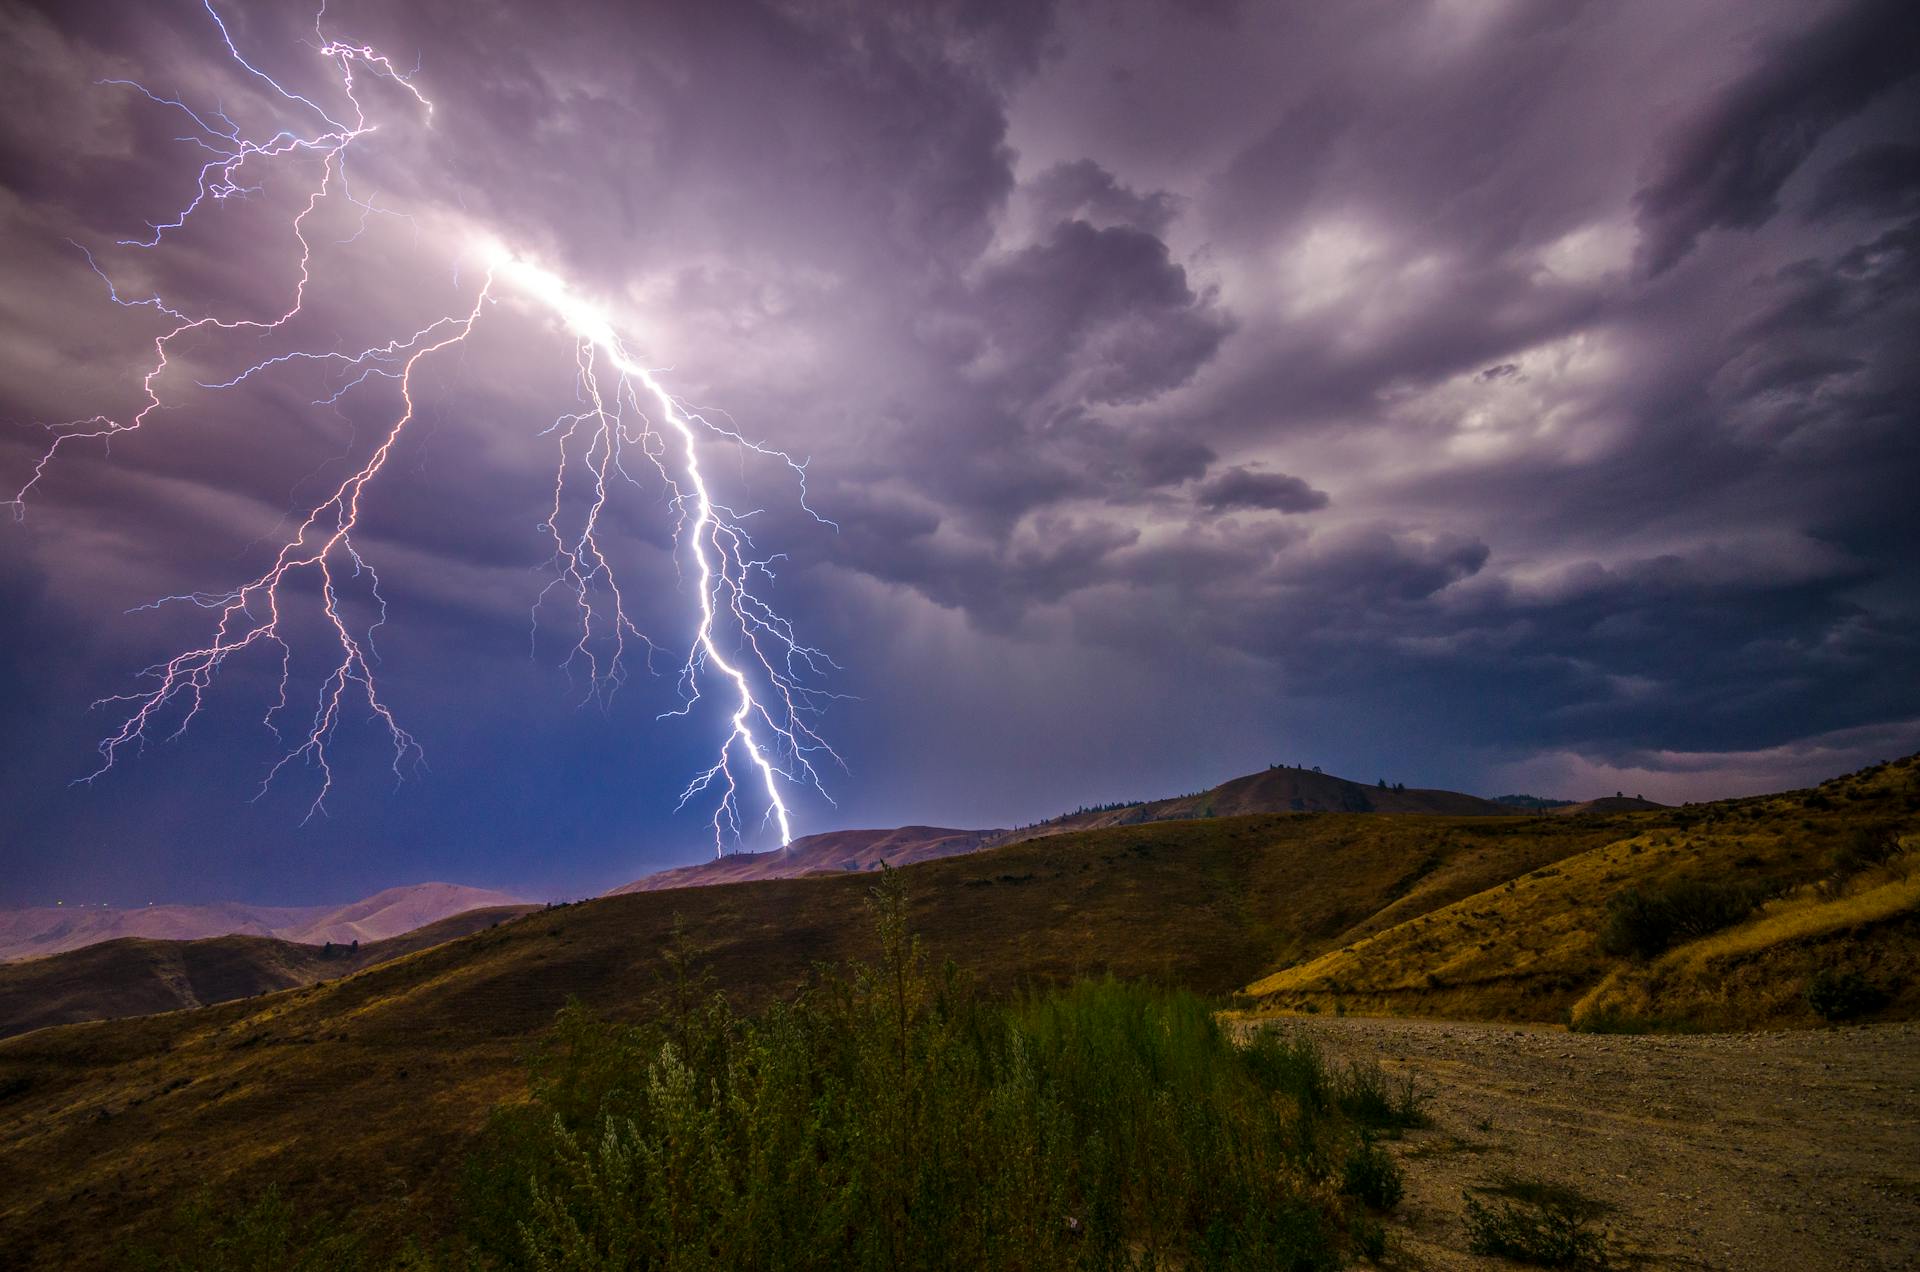
What is Lightning?
In photography, it is great to get to know about your subject first so you know how to deal with it.
Lightning occurs when charged particles in a thundercloud create an electric field strong enough to produce electricity. This electricity shoots out of the thundercloud and voila, you have a lightning.
Thunderstorms are the most common environment for lighting. Watch out for weather forecasts so you can prepare beforehand.
How to Prepare for Lightning Photography
Safety and preparation should be your priority when photographing lightning. Yes, it is beautiful to look at but, it is also dangerous.
Lightning strikes can be unpredictable, and it is crucial to take precautions for you and your camera gear.
- Choose a safe location: Find a sturdy shelter or indoor vantage point where you can observe the lightning without putting yourself at risk.
- Avoid open spaces: Refrain from standing in open fields or atop hills, as these areas are more susceptible to lightning strikes.
- Use a lightning trigger: Consider investing in a lightning trigger device that can detect lightning strikes and automatically trigger your camera shutter. This will allow you to capture lightning safely from a distance.
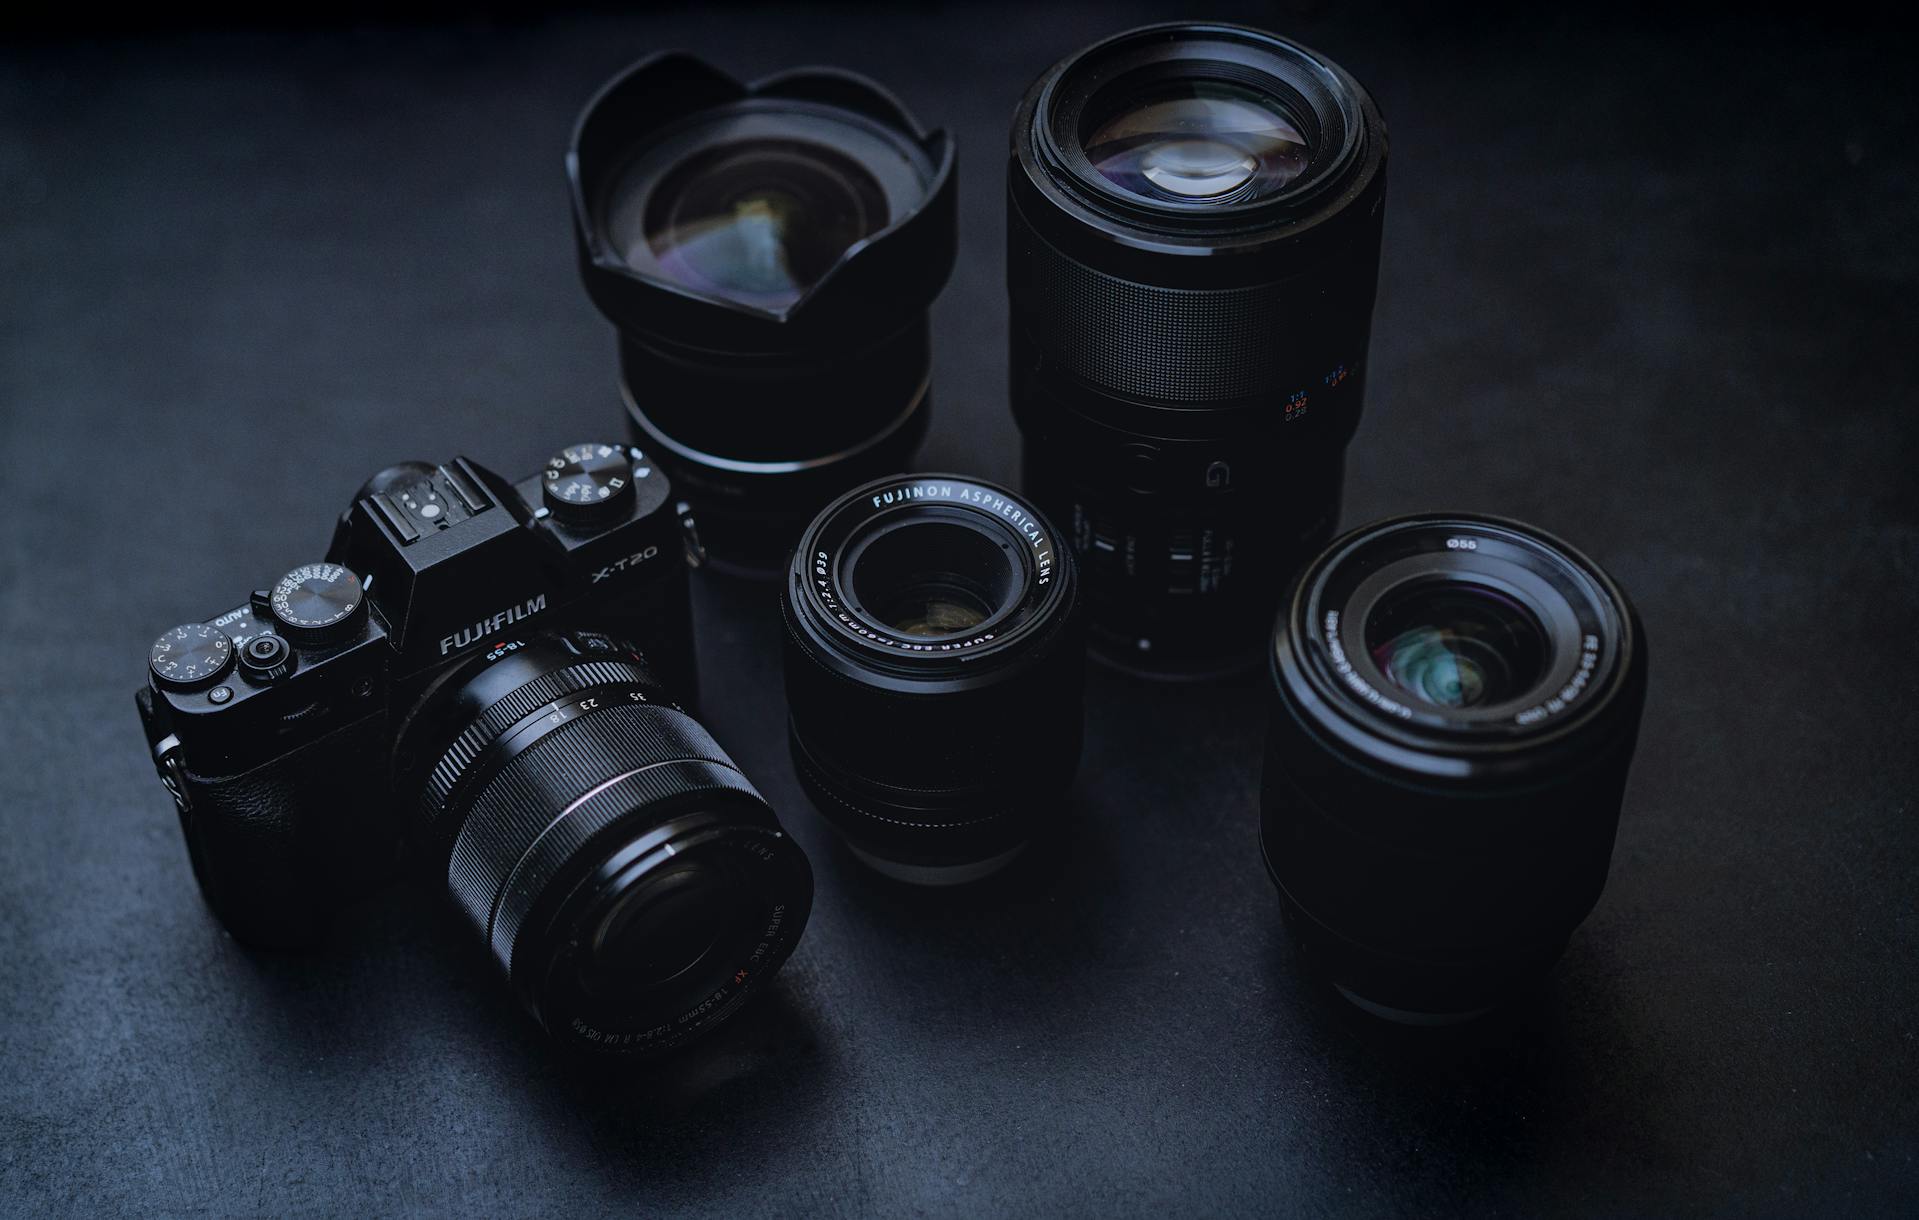
Essential Gear
When it comes to lightning photography, having the right gear can make all the difference. Here's a list of essential equipment you'll need to capture stunning lightning shots:
- Camera: A DSLR or mirrorless camera with manual exposure controls will give you the flexibility to adjust your settings for optimal results.
- Lens: A wide-angle lens (typically between 16-35mm) is ideal for capturing the expansive sky and dramatic cloud formations associated with lightning storms.
- Tripod: A sturdy tripod is essential for keeping your camera stable during long exposures, especially in low-light conditions.
- Remote shutter release: Using a remote shutter release or intervalometer will help minimize camera shake and ensure sharp images.
- Lightning trigger: As mentioned earlier, a lightning trigger device can greatly improve your chances of capturing lightning strikes by automatically triggering your camera shutter when lightning is detected.

Lightning Photography Camera Settings
Now that you're equipped with the right gear, let's dive into the optimal camera settings for lightning photography:
- Manual mode: Switch your camera to manual mode to have full control over your exposure settings.
- Aperture: Choose a wide aperture (around f/5.6 to f/8) to let in as much light as possible.
- ISO: Start with a low ISO (around 100-200) to minimize noise in your images.
- Shutter speed: Set your shutter speed to a long exposure (typically between 10-30 seconds) to capture the faint glow of distant lightning and the trailing light of a bolt.
- Focus: Switch your lens to manual focus and set it to infinity to ensure sharpness in your images.
- White Balance: You can set your camera to daylight or auto white balance. Either way, you can fix the white balance during post-processing.
Tips for Shooting Lightning Photography
When it comes to actually capturing lightning strikes, patience and persistence are key.
Here are some tips to help you maximize your chances of success:
- Keep your camera steady: Use a tripod and remote shutter release to minimize camera shake during long exposures.
- Be ready to react: Keep your finger on the shutter button or use a lightning trigger device to ensure you capture lightning strikes as soon as they occur.
- Shoot in burst mode: Set your camera to burst mode to capture multiple shots in rapid succession, increasing your chances of capturing a lightning bolt.
- Adjust your settings: Be prepared to adjust your camera settings on the fly based on the changing light conditions and intensity of the lightning.

Post-Processing your Images
Once you've captured your lightning photos, it's time to bring them to life with some post-processing.
Here are some tips for enhancing your images:
- Adjust exposure: Fine-tune the exposure, contrast, and brightness of your images to bring out the details in the lightning bolts and the surrounding sky.
- Crop and straighten: Use cropping and straightening tools to improve the composition and framing of your images.
- Enhance colors: Experiment with color adjustments to enhance the vibrancy of the sky and make the lightning bolts pop.
- Remove noise: Use noise reduction tools to minimize any noise or graininess in your images, especially in areas of low light. Be careful with noise reduction though since it doesn't look good when overdone.
Shooting Lighting Photography: Final Thoughts
Capturing the beauty and power of lightning through photography can be both challenging and rewarding.
By following the tips and techniques outlined in this guide, you'll be well-equipped to embark on your own lightning photography adventure.
Remember to prioritize safety, be patient, and embrace the unpredictable nature of Mother Nature. Happy shooting!